Ever since I was a small child, I have been fascinated with computers and electronics in general. Knowing that, it is no surprise that I got into building computers later in my childhood. When I was in 8th grade, I built my first computer for around $800. Until recently, I had been using that same computer for everything I did, and in more demanding applications like 3D modeling or running the latest games at the highest settings, it was definitely showing it’s age. Even worse, it looked dated (and it hadn’t been that great looking to start off either).
If I was going to build a new computer, I had to make it both aesthetically pleasing, and powerful enough. This is where I got the idea to water cool.
I think most people know this already, but the vast majority of computers are cooled with air – it’s simple, easy, and completely adequate for most applications. However, cooling with something other than air can have its benefits as well. Water can hold much more heat than air can, so it is more effective in conducting and transferring heat away from components of the computer that need to stay “cool” (under 90C/100C) to preform the best. To do this, water blocks are applied to the processors that need to be cooled, typically the CPU (central processing unit) and GPU (graphics processing unit). This water block is comprised of a metal plate (typically copper or nickel) on the bottom, and another plate (in my case plexiglass for the aesthetic) on the top, with water flowing through the middle to provide the maximum flow rate and surface area over the component to be cooled.


If you read my top blog post, you will see that I actually started with a budget of $600, less than I had back in 8th grade, but had taken out a loan from my parents and bought and sold computer parts to make money, in the process accumulating parts for the build.
If anyone cares (you probably don’t), here are the parts I used:
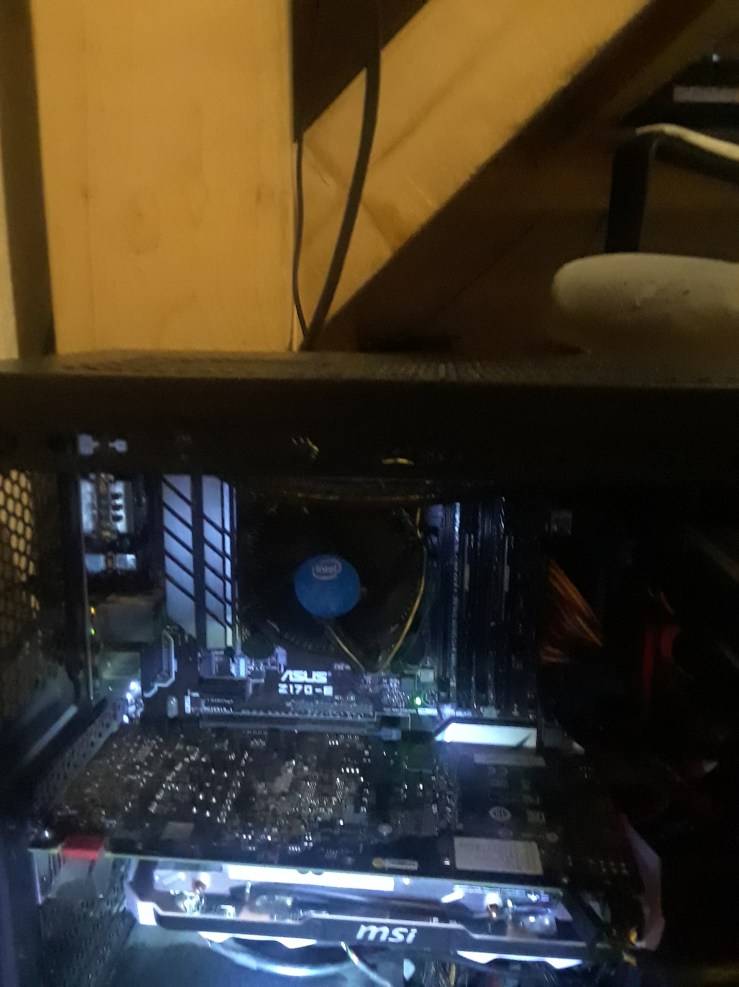
CPU – Intel i5 7800x @4.8ghz
CPU monoblock – EK-FB GA x299 RGB
GPU – MSI GTX 1080 Seahawk EK X @2.1ghz
Motherboard – Gigabyte Aorus Gaming 3
RAM – 4x4gb Corsair Dominator Platinum @2666mhz
PSU – EVGA 850 G3 with custom cable extensions from Cablemod
Pump – EK 140 Revo D5
Tubing – 12ft Primochill 1/2in tubing
Fittings – 10x white Primochill 1/2in fittings, 5x unknown 90 degree fittings
Radiators – 2x XSPC 360mm radiators
Case – NZXT h700
Drives (reused from old computer) – Samsung 850 evo 256gb, Seagate 1tb 7200rpm hard drive
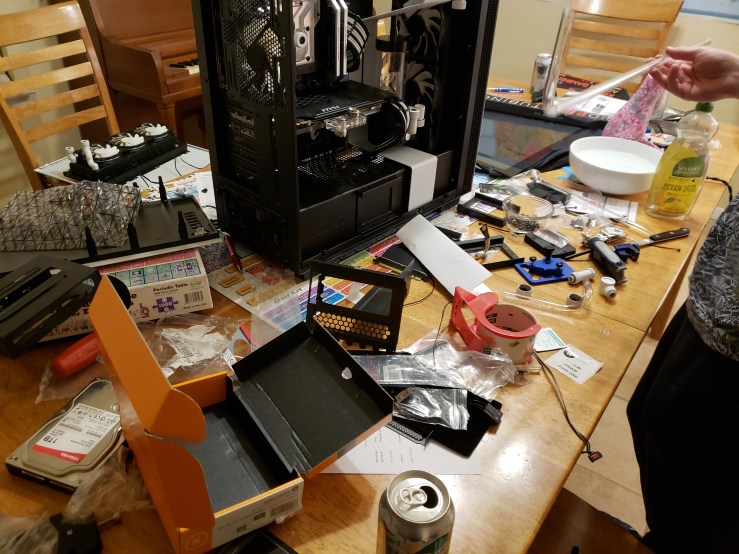
With all my parts purchased from a combination of new and used sources on my tiny budget, I now had everything needed to build my computer. Unluckily, some of the parts arrived late, so by the time the parts had arrived, it was Monday. I spent the next three days coming home after school to work on the computer from about 5:00pm to 1:00am. During this time, this is what my dining room table looked like:

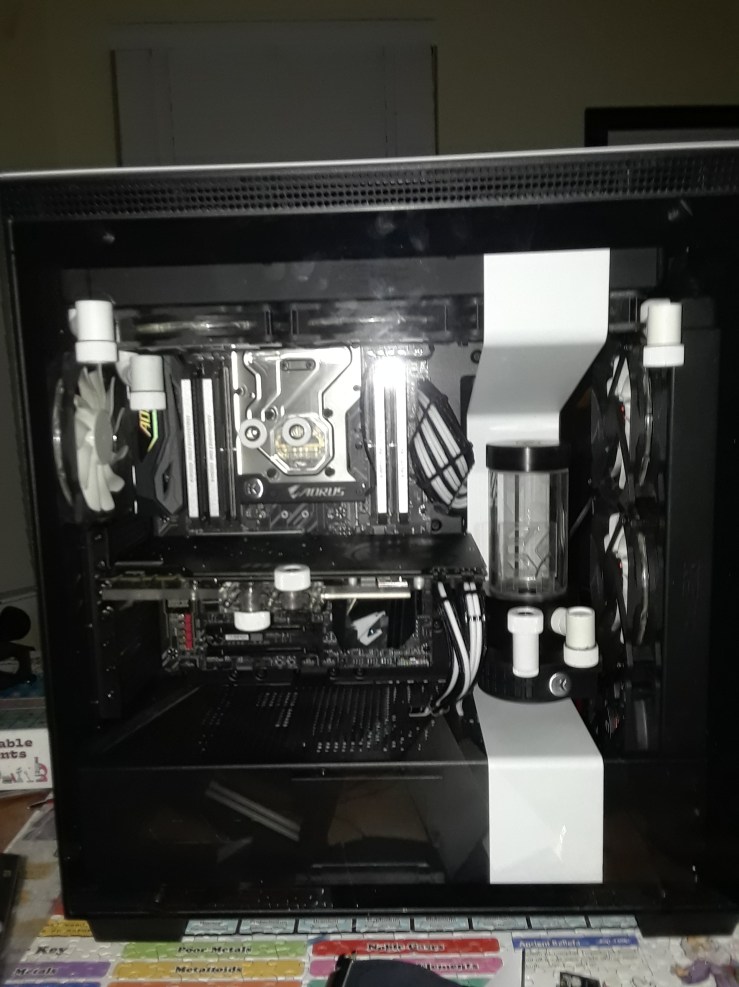
After I completed the “computer” part of the build, it was time for the “plumbing” part of the build.

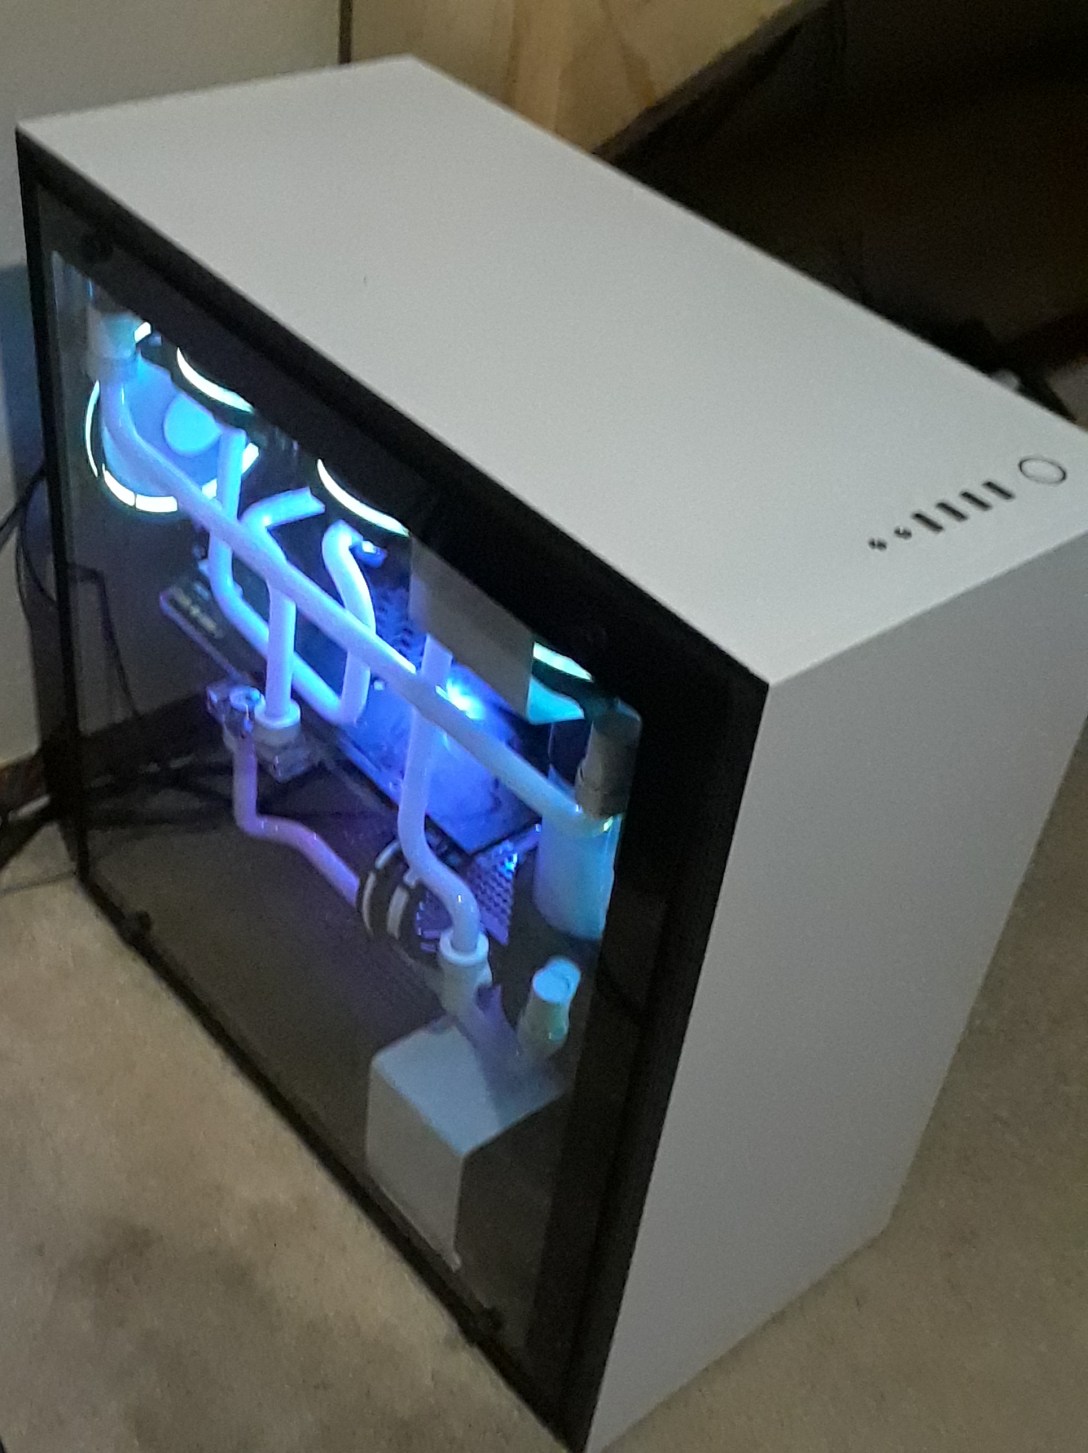
I spent many hours building this computer, and many more hours sourcing all of the parts and making the money needed to complete the build, but after all that I am immensely satisfied with the final product. Finally, after adding the white dye to the coolant and setting up the lights, here it is.


