
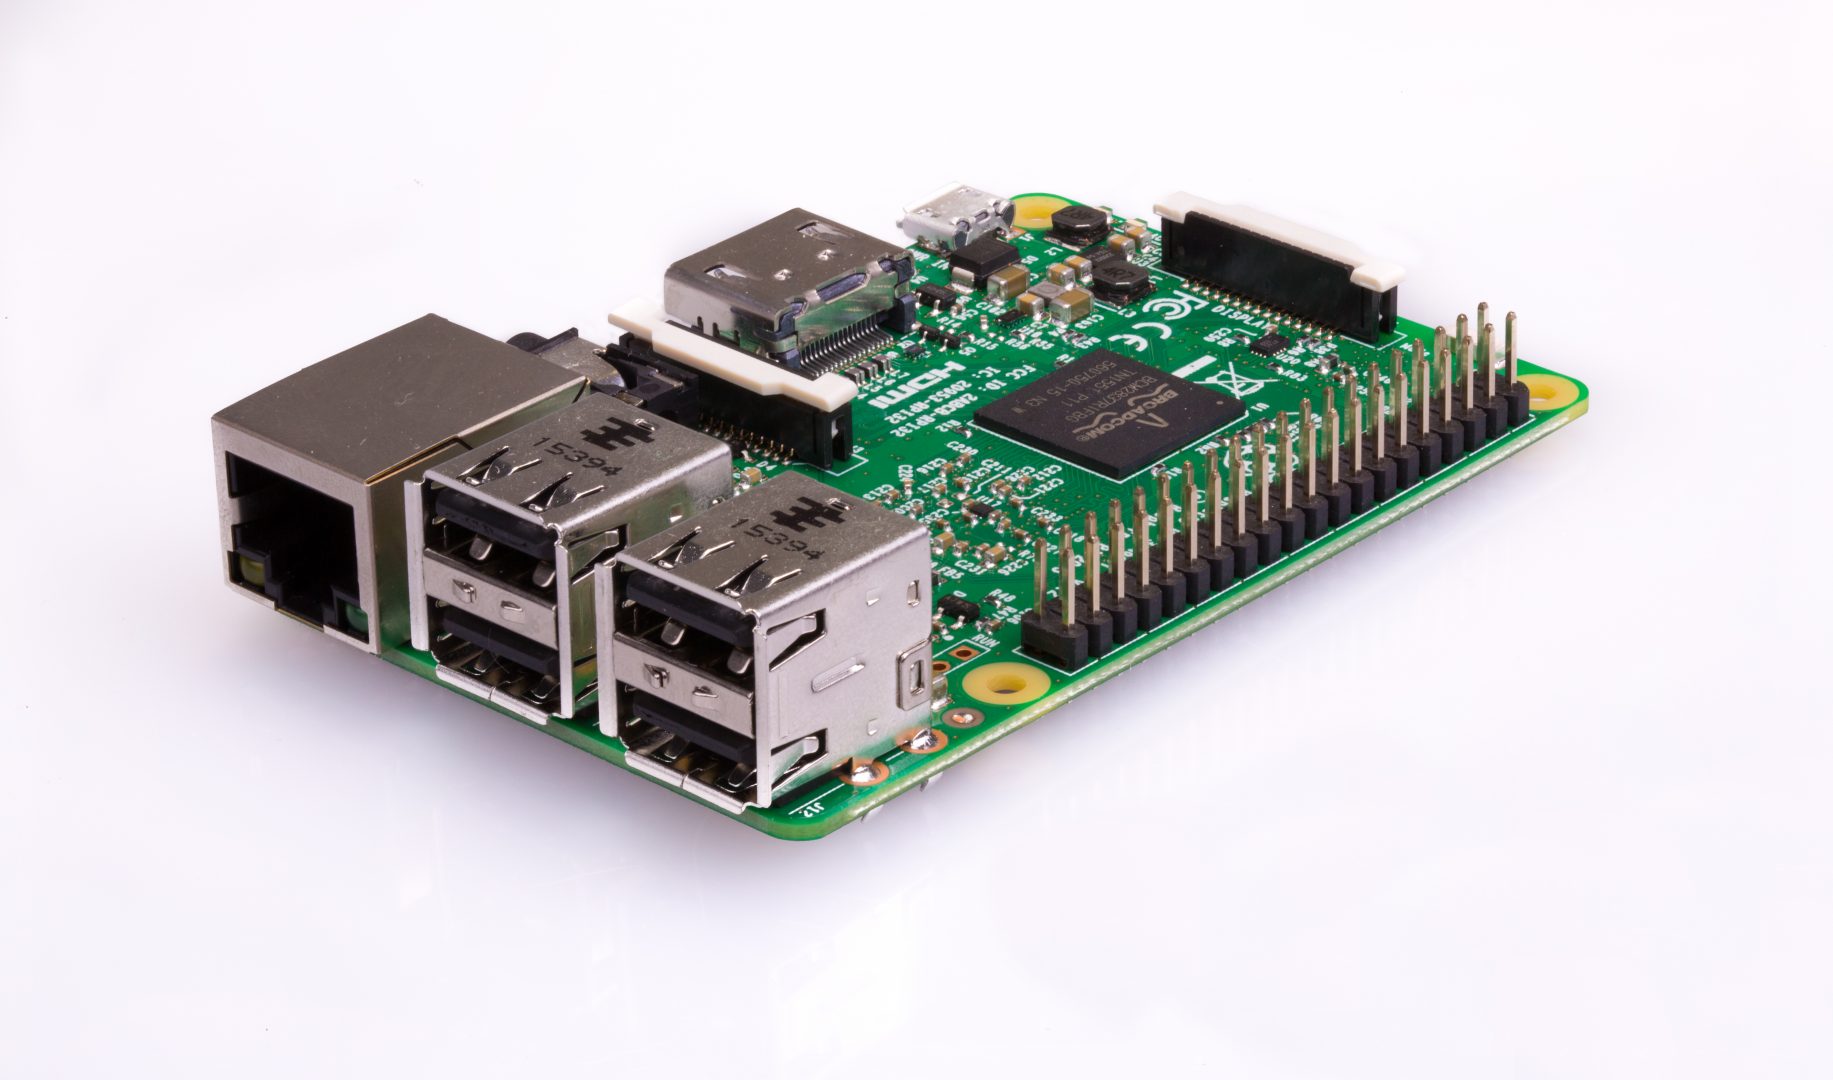
For this entry, I made a VPN using my Raspberry Pi 3. The Raspberry Pi is a $35 dollar bare bones computer that runs a Linux based operating system. It comes without a case or peripherals, but after connecting it to a keyboard, mouse and monitor, it functions much like any other modern computer.
For those wondering what a VPN is and why I need or want one: a VPN is a tool that will allow me to have secure encrypted internet access wherever I am. In addition, this will allow me to connect to my home network remotely, simulating a LAN network from anywhere in the world.
This also enables users to bypass internet restrictions imposed by restrictive governments and schools, such as this one. For any administrators reading, I will definitely not be using my VPN for such nefarious purposes, and I cannot recommend anyone else use a VPN at school either.
With that out of the way, lets get to the good part.
Equipment
All you will need for this project is a Raspberry Pi 3, a micro SD card, and a keyboard, mouse and monitor.
Installing PI VPN
Since manually configuring a VPN is pretty complex, I will be using a tool called Pi VPN that automatically generates encryption keys, manages ports, and manages the IP address of the Pi. You can download the PiVPN install files here. After downloading and running the install script, the automated installer will take over.
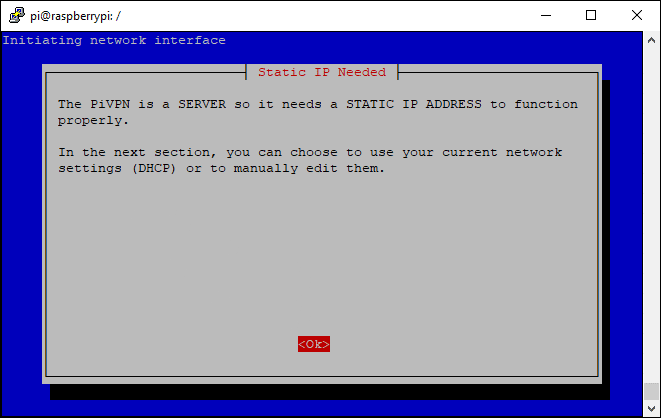
It will ask a lot of questions about what IP address you want to use, and if it should be static or dynamic, but you can just leave the settings at the default values and press ok to get through the dialogue. After the installer is finished, it will ask you to restart your Raspberry Pi. Press “yes” to restart and then we can move onto the next step: setting up your VPN with OpenVPN.
Setting up a VPN with OpenVPN
Now I know you are thinking, didn’t you say we would be using PiVPN to make our VPN? Well, yes, but now we have to use OpenVPN to actually connect to the server that is running with PiVPN.
First, we need to tell PiVPN to make a new VPN server, run this line of code in the command line.
sudo pivpn add
After this, it will ask for a name and password for the VPN. After you do that, PiVPN will generate encryption keys and we can move onto the next step.
Since our client, the Pi, has been set up for VPN use, we now need a way to connect to it. This next step will be done from the computer you want to connect to the PiVPN with. You will need to download a SFTP (standard file transfer protocol) program, like FileZilla to do this. They will keep the file transfer safe and easy, as you are transferring the encryption key of your server; if it is not secure, than your server isn’t either. Run FileZilla, and then, in the text box in the top left where it says Host: type sftp://[your Pi’s IP address]. In the box entitled username, type the local user for the Pi you are on – if you don’t know this, just type
hostname -I
in the command line. Then, in the password box, enter your password. With all this entered correctly, you can click quick connect to the Raspberry Pi. You will be able to see all of the files on the Pi. Go to the /home/pi/ovpns folder, and in there, there is a file called [your server name].ovpn. Drag this file somewhere on your computer to easily copy it to your own computer.
After this is done, you can download OpenVPN. Install the program on the computer you want to connect to the Pi with. When you run the program, it will automatically minimize to your taskbar. To connect to the PiVPN server, right click the computer icon with a lock on the top left that will be located on the right side of your taskbar. Then, click import file, and select the .ovpn file that we got from the Raspberry Pi earlier. After this is done, all that is left to do is right click the OpenVPN icon again and select connect. It will then send the encryption key to the Pi, and you will have to enter the password you set. After this, you will be connected to unlimited safe, private internet access
Congratulations, if anyone actually followed this guide, you now have a working DIY VPN!


